

Simple to install. Easy to open.
Choose your baseboard or sidewall guide below. Before you begin, remove the existing grille, measure the duct opening itself, and confirm the fit.
In the box
- 01Grille + backplate
- 02Pre-cut activated-carbon filter (first one included)
- 03Installation clips (1 top, 2 bottom)
- 04Screws and anchors
- 05Installation brochure + filter replacement card
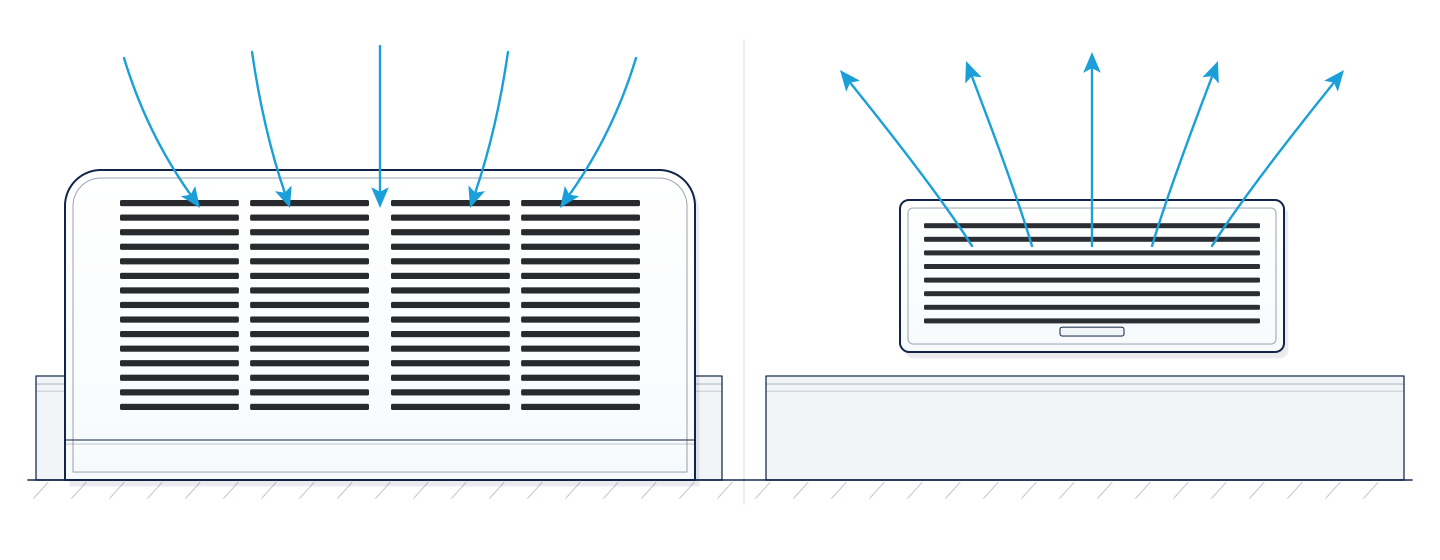
Returns only. Never install a filtered grille on a supply vent — supply openings blow conditioned air out and aren’t what this product is designed for.
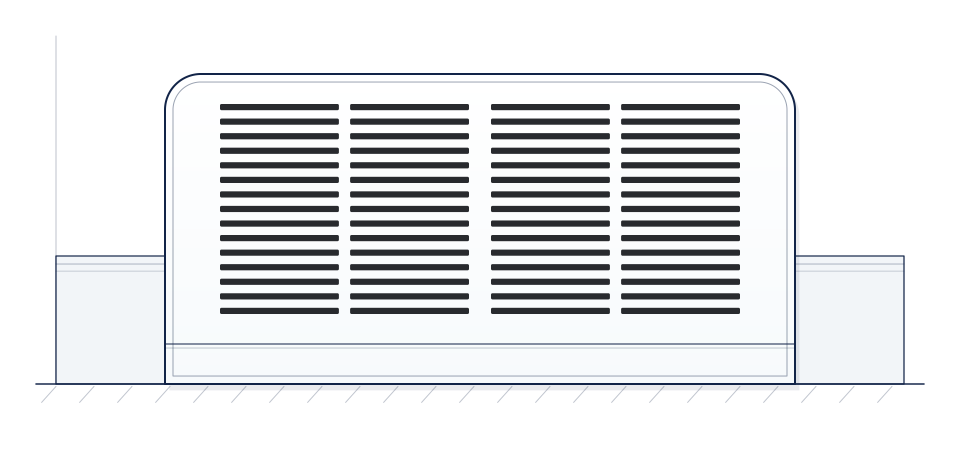
Baseboard install
Step 1. Remove your existing grille and confirm the duct opening measures exactly 14″ × 6″.
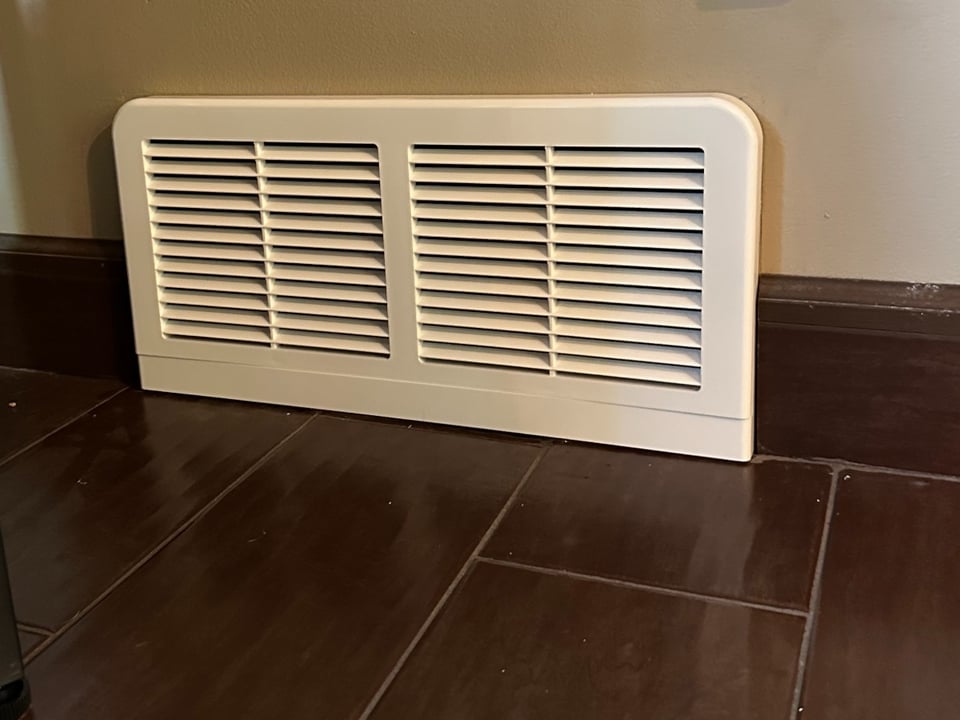
Step 2. Set the backplate into the opening at the floor line — the square lower corners sit flush where wall meets floor — and secure it as the included brochure directs.
Step 3. Seat the filter against the backplate’s retention frame.
Step 4. Snap the front grille on. Done.
Read the visual steps
A person positions the white backplate in a baseboard return opening and secures it with screws using a cordless drill. They seat the black filter against the retention frame, then align and press the white front grille into place. The video ends with the completed installation. Follow the included instructions for your installation.
Sidewall install
Step 1. Remove your existing grille and confirm an exact 14″ × 6″ duct opening.
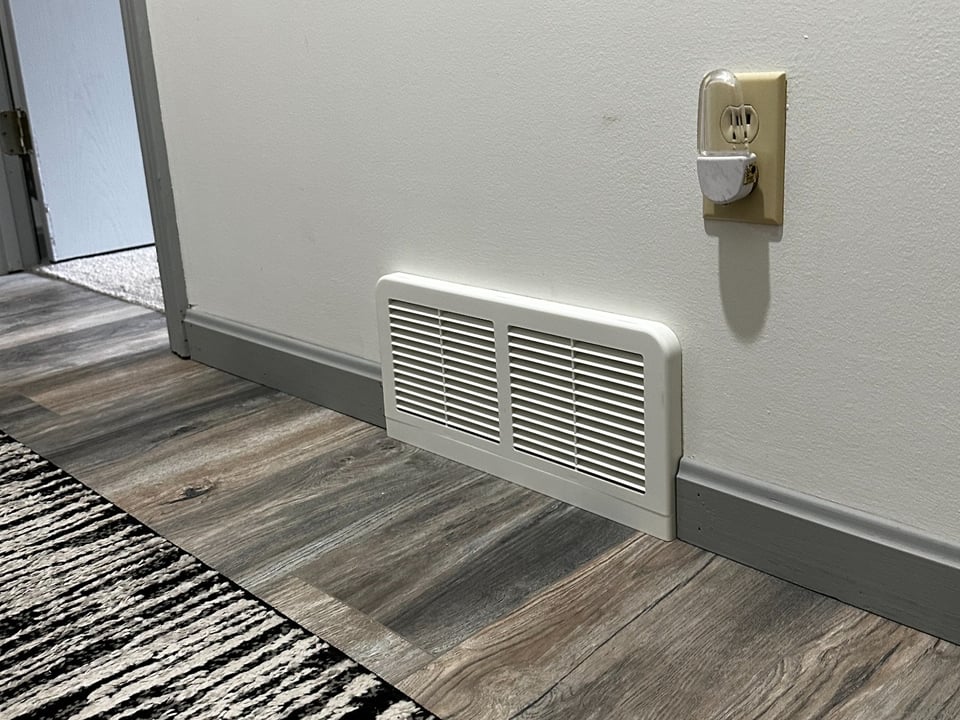
Step 2. Fit the top clip and the two bottom clips to the backplate, then set the backplate into the opening — the clips hold it tool-free.
Step 3. Seat the filter against the retention frame.
Step 4. Snap the front grille on.
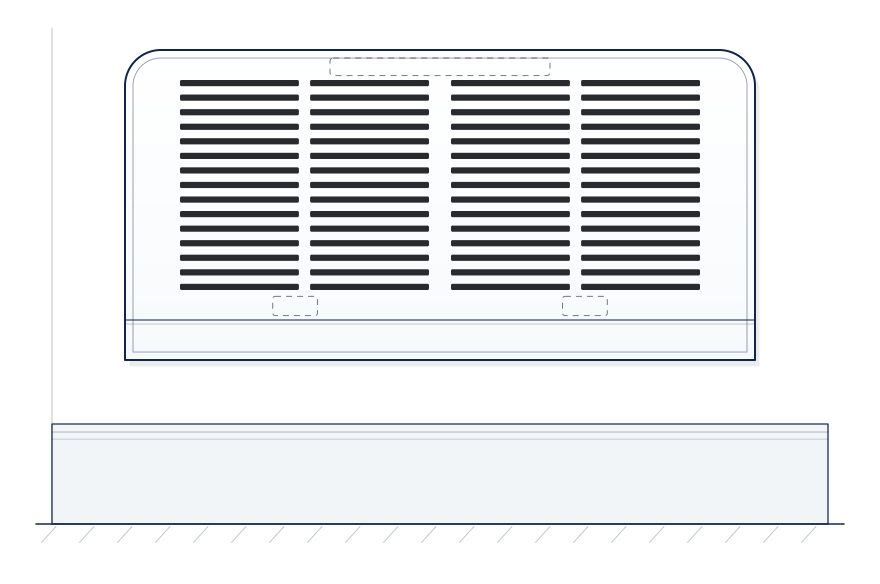
Read the visual steps
A person removes the existing wall vent, fits the friction-fit clips to the backplate, seats the backplate in the opening, then fits the filter and front grille. The demonstration finishes by showing the grille opened for a filter replacement and closed again. Follow the included instructions for your installation.
Filter replacement
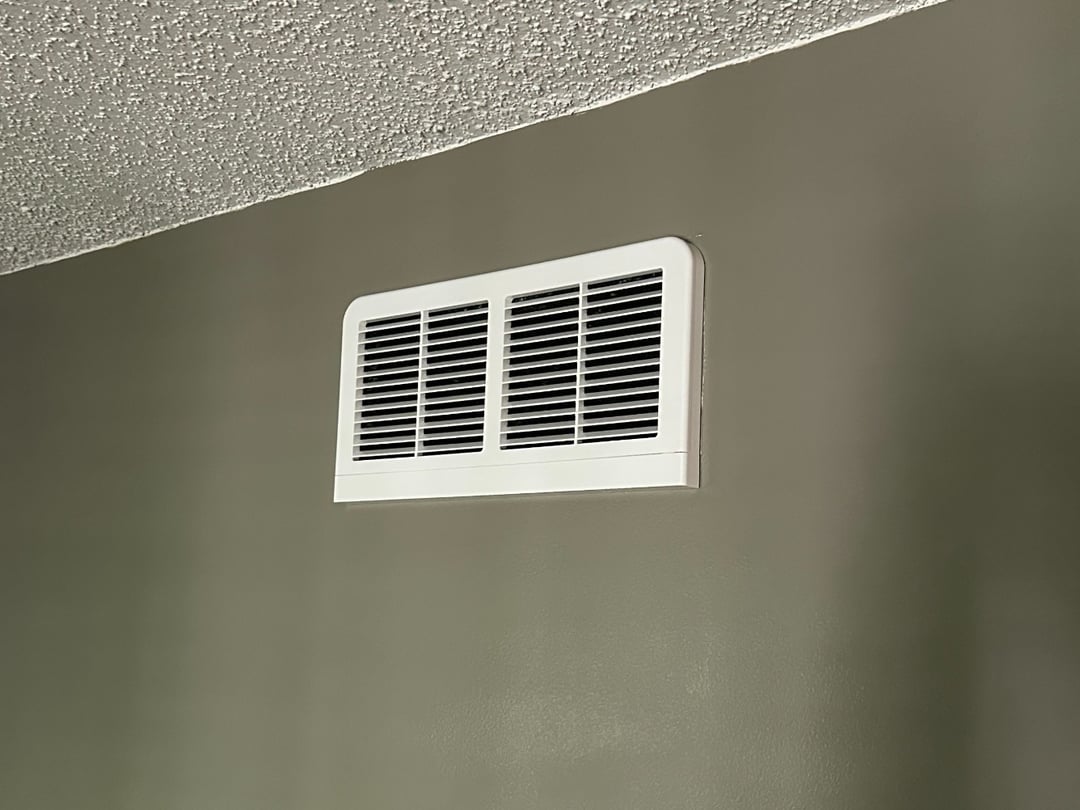
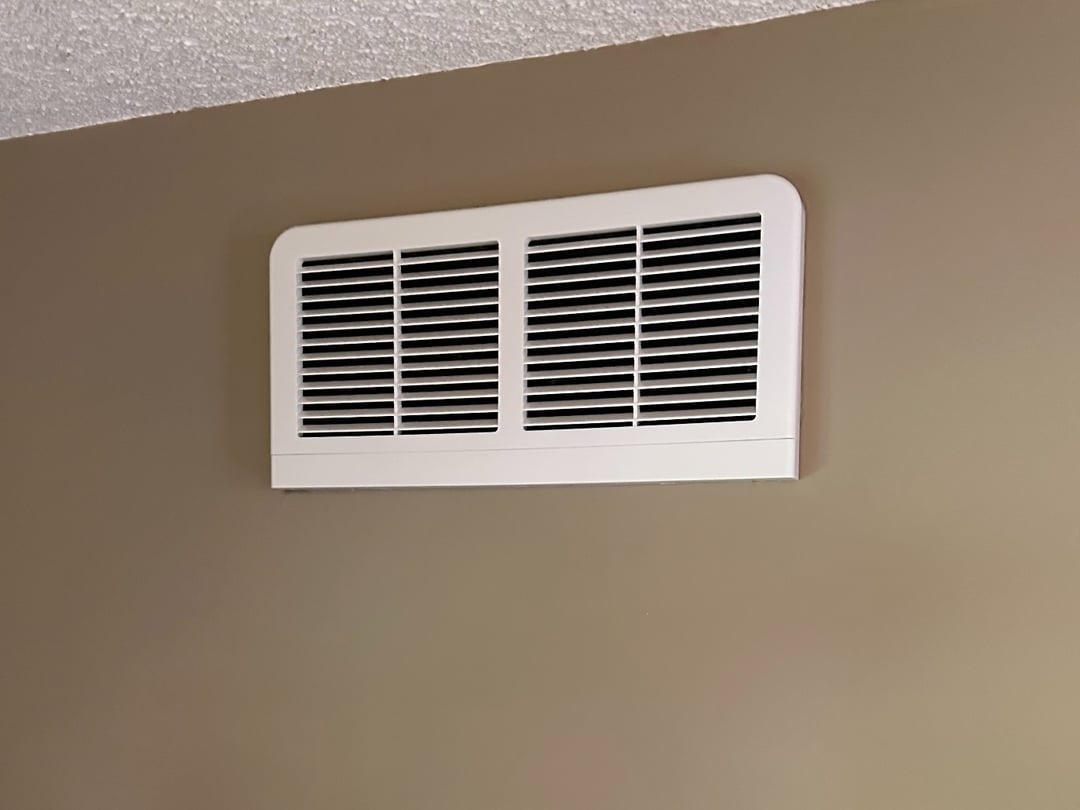
Step 1. Pop the front grille off — a fingertip or a flathead in the edge notch does it.
Step 2. Lift out the old filter. What it caught, you’ll see.
Step 3. Seat the new filter flat against the frame, snap the front back on.
Inspect around every 90 days. Pets, home projects, and system runtime affect how quickly the filter collects dust.
Read the visual description
Release the front cover at the top edge and open it. Lift out the used filter. Place a new filter flat against the backplate’s retention frame, then refit the cover and press it closed.
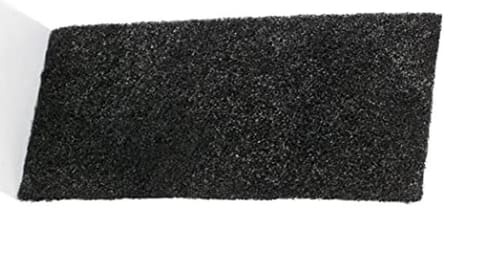
Activated-carbon filter pad